In the previous post, we examined some of the principles behind BDD. If you read it, I’m sure you’re thinking, “Wow! That’s great! But, how do I accomplish this in Visual Studio?” There are a myriad of posts on the Internet that demonstrate different components. However, there’s not really a single post with all of the information compiled. For that reason, I’m going to provide a step-by-step tutorial on how to perform BDD with Visual Studio. Additionally, I will show you how to perform automated testing using your Gherkin scripts.
There are some Visual Studio extensions and class libraries needed in order to perform BDD in Visual Studio. You’ll need this in order to download and open the solution.
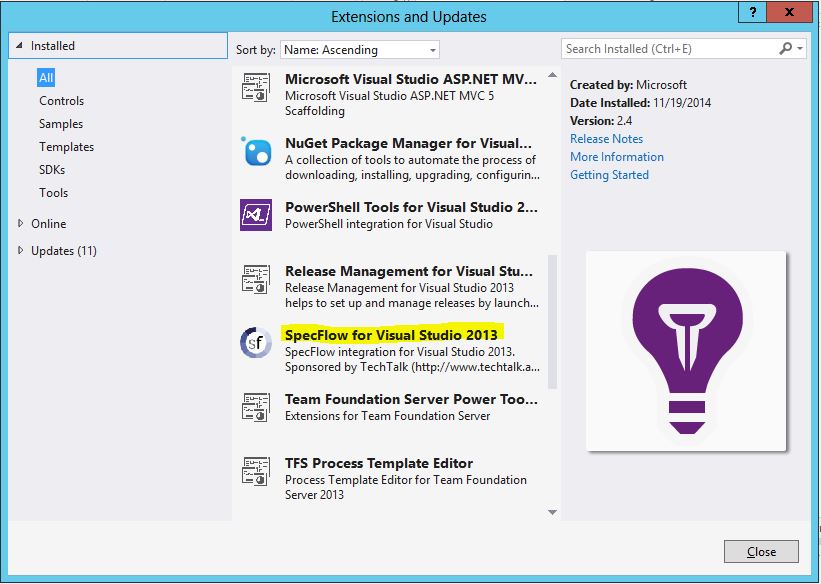
SpecFlow
As stated in the previous post, Behavior-Driven Development uses Cucumber to parse Gherkin scripts. The original Cucumber assemblies were written for Ruby on Rails. Fortunately for us, a port of these libraries has been developed for Microsoft.NET. The libraries we will use is called SpecFlow. SpecFlow is installed as an extension to Visual Studio. Upon installing SpecFlow, additional file types and project types can be created in our Visual Studio solution. Furthermore, SpecFlow will report the successes and/or failures of our acceptance tests in the Visual Studio Test Explorer. To install SpecFlow into Visual Studio:
|  |
WatiN
Inspired by Watir, an automation testing framework for Ruby, WatiN (pronounced “What-in”) is an automation testing framework for Microsoft.NET. WatiN is an acronym for Web Automation Testing in .NET. WatiN allows SpecFlow to automate tests against your browser by controlling an instance of either IE or Firefox (Google Chrome is not yet supported). By using WatiN, tests can be written to perform various interactions within the page to test anticipated user behavior. Installing WatiN is simple as the libraries are stored in NuGet. Within your automation tests project (which we will create shortly), execute the following NuGet command in the Package Manager console:
PM> Install-Package WatiNThere are some additional steps to follow once WatiN has been added to the project, but we’ll cover those in due time.
DryRunner
Typically when we create a Microsoft.NET web application and we opt to include unit tests, an additional project is created in our Visual Studio solution. Because acceptance tests require that a web site be running, its very difficult to include acceptance tests in the same solution. (Keep in mind that debugging your web application in IIS Express does not allow you to run additional projects within the same solution.) So, this leaves us with a few options:
- Create the acceptance tests in the same solution as our web application. Deploy our web application to a testing/development environment. Then, run our acceptance tests against the remote environment.
- Create a separate Visual Studio solution for our acceptance tests. Then, start our application in debugging. Finally, start the second solution’s acceptance tests to run against the primary solution’s web application.
The first scenario requires us to have a testing environment. For many developers, the testing environment is their local machine. If any such remote testing environment exists, it’s typically for quality assurance. The second scenario requires an additional utility-type solution. This could add some complexity to our project and any source control repository. Why would anyone want to manage multiple solutions - especially, if branching, merging, permissions, etc. are involved? Besides, it would be great if all tests - acceptance and unit (and coded UI, load tests, etc.) - could be stored in the same solution. Enter DryRunner. Created by Tim Jones, DryRunner provides isolated integration testing within your Visual Studio solution. What this means is:
- We can include our acceptance tests project in the same solution as our web application.
- When we run our acceptance tests from the Test Explorer, DryRunner will compile our main web application and dependencies, drop the output of MSBuild in a temporary folder, launch an instance of IIS Express serving our site from that temporary folder, and finally, open a browser to our web application allowing SpecFlow & WatiN to test our application accordingly.
While DryRunner is not required to perform automated testing, it sure does make the process easier and the solution a lot cleaner. Just like WatiN, DryRunner can be installed with NuGet from the Package Manager console.
PM> Install-Package DryRunnerWith these three packages, you are ready to begin automation testing.